Docker Benefit
-
Version control (like Git)
-
Easy to share your environment
-
Keep cleaning on your laptop
Quick Start on Mac!!
-
Download Docker on your laptop.
-
Turn on Docker.
-
Open terminal.
-
Pull docker image (you can choose a desired image from HERE). If you have no idea, do not worry! Just follow me :)
your_name:~$ docker pull jupyter/scipy-notebook
- Create a file where you want to work.
your_name:~$ mkdir FILE_NAME
your_name:~$ cd FILE_NAME
- Create a container.
your_name:~$ docker run -d --name CONTAINER_NAME -p 8888:8888 -v "$(pwd):/home/jovyan/work" jupyter/scipy-notebook
- Check and copy passward (after taken)
your_name:~$ docker logs CONTAINER_NAME
http://127.0.0.1:8888/?token="PASSWARD"
-
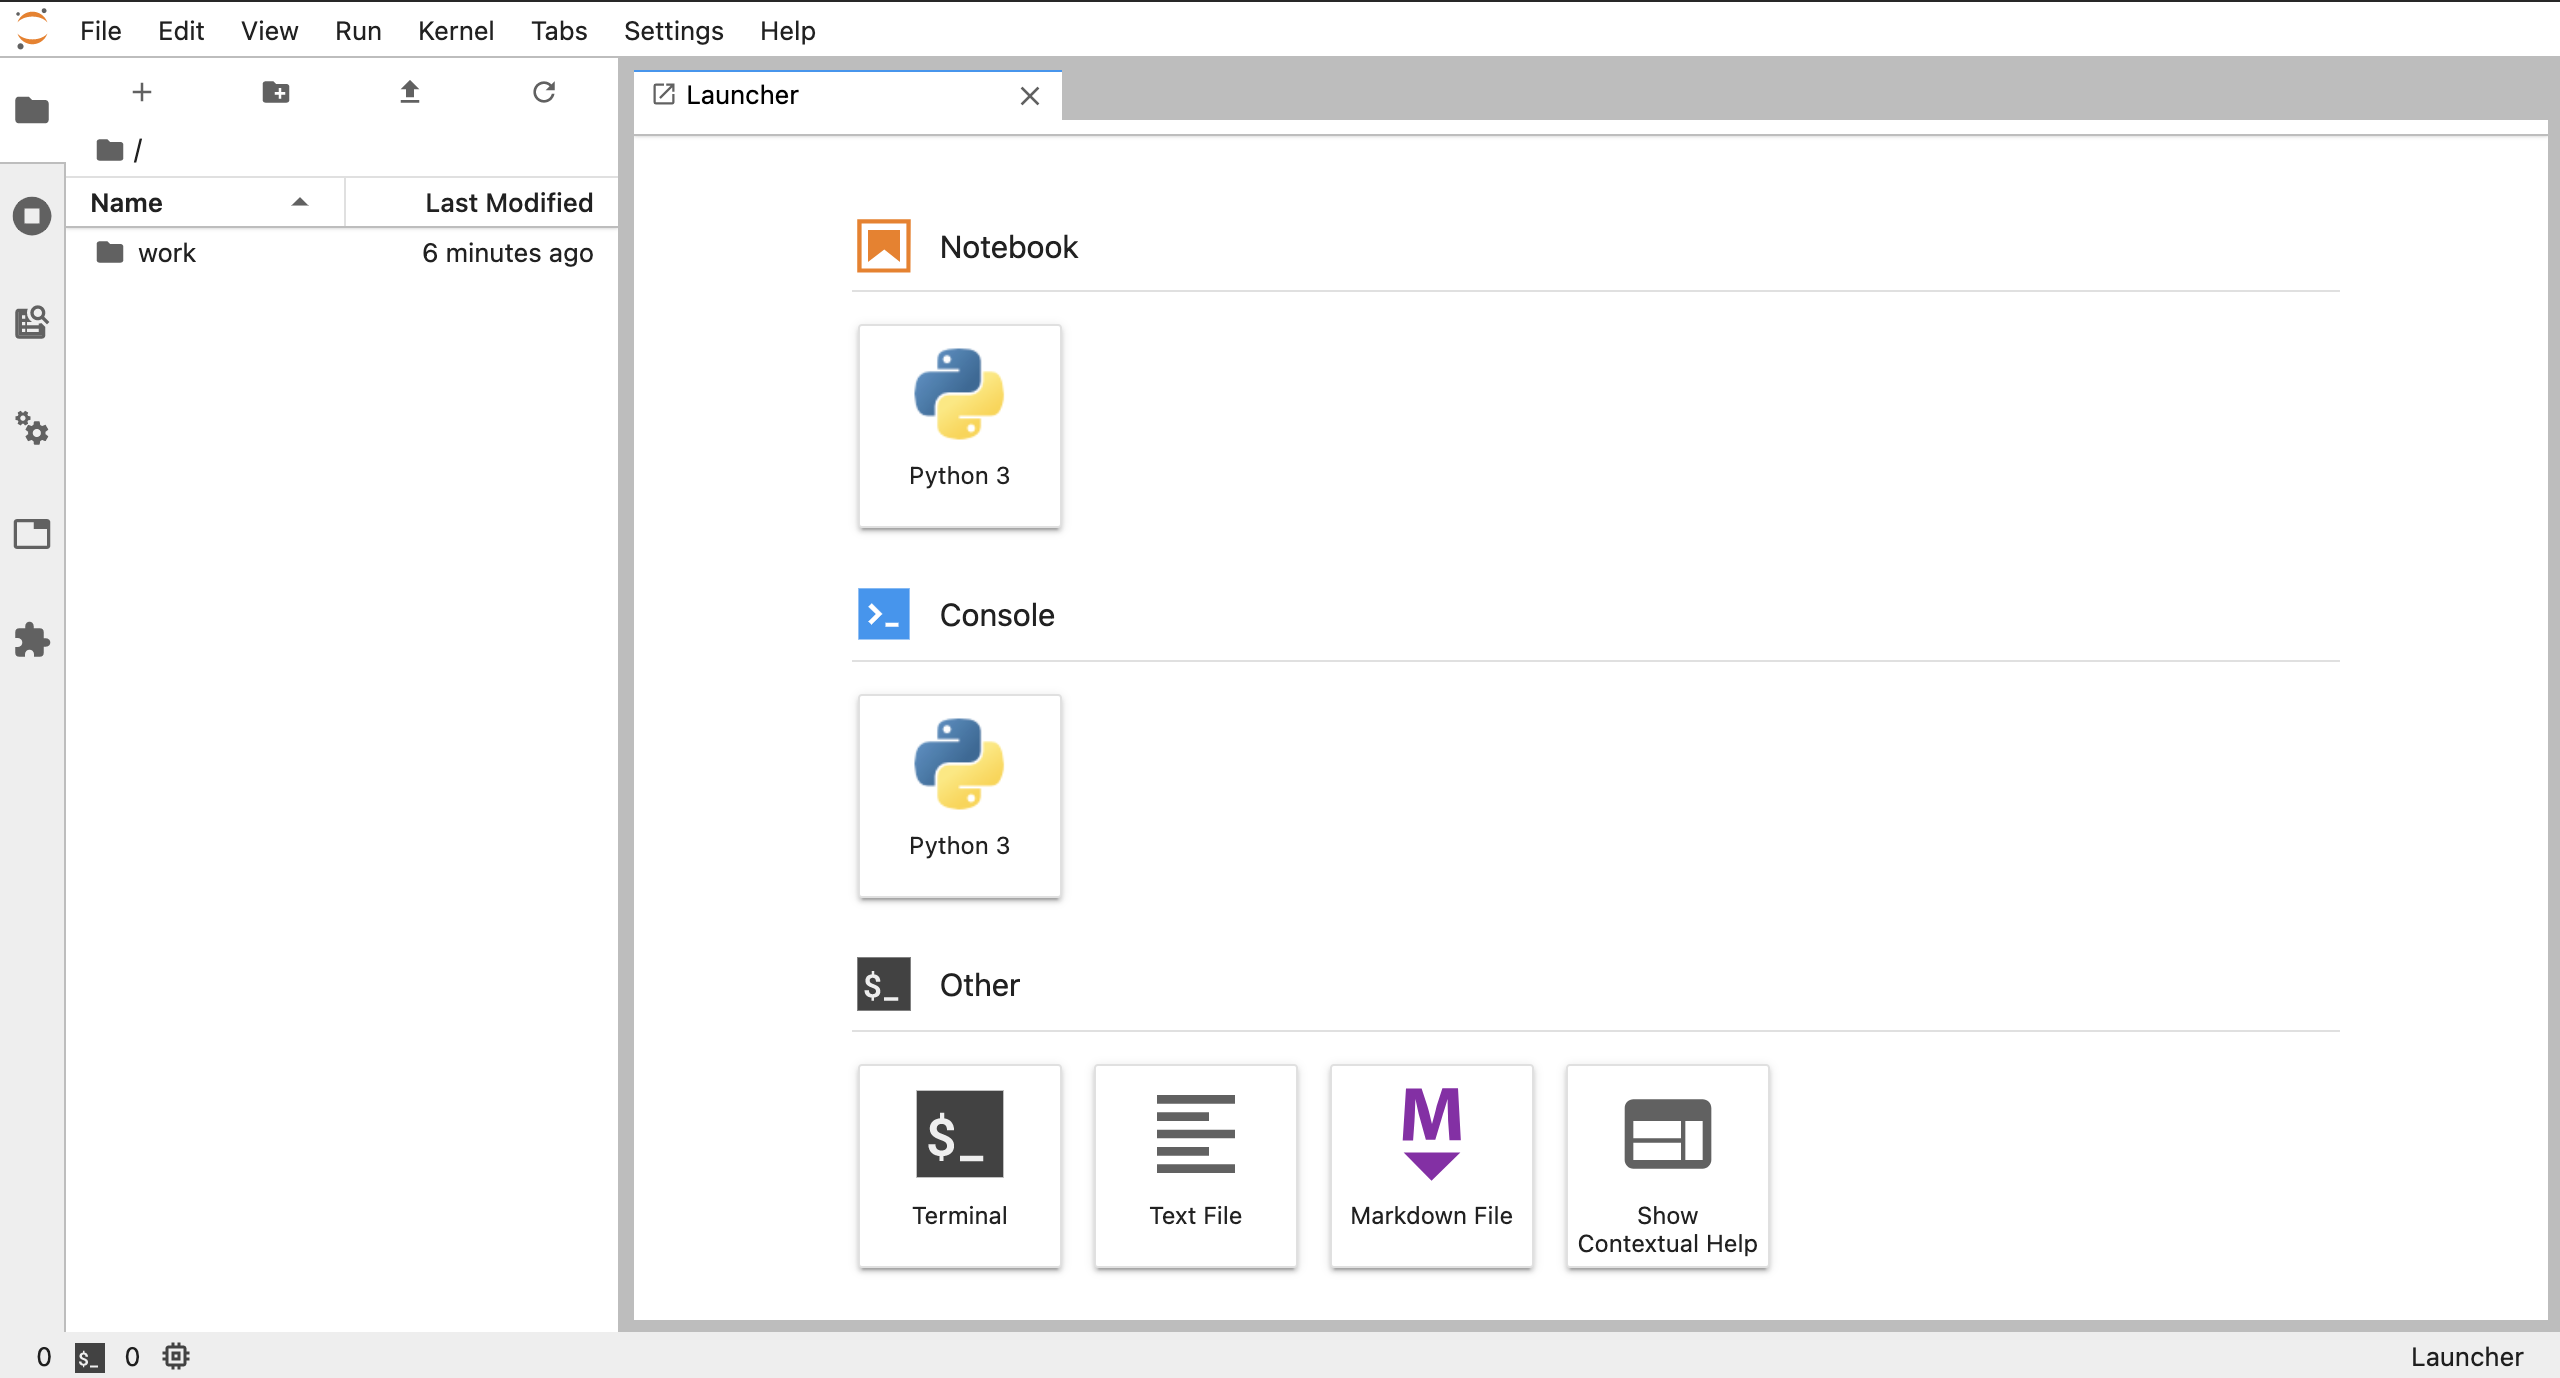
Open Jupyter Notebook or Jupyter Lab.
Bang Bang Bang!!!! Now you can use Jupyter Notebook!! Enjoy!!
Note: files/folders can be shared through FILE_NAME which you created. -
Stop your container.
your_name:~$ docker stop CONTAINER_NAME
Now you can shut down your laptop.
Additional Information
- Start Jupyter Notebook when you start to work again.
your_name:~$ docker start CONTAINER_NAME
- If you cannot use some libraries/packages, install a desired library/package in your container!
your_name:~$ docker exec -it CONTAINER_NAME /bin/bash
(base)jovyan@~:~$ pip LIBRARY/PACKGE_NAME
(base)jovyan@~:~$ exit
- Check statement of containers.
your_name:~$ docker ps -a
- Delete a container.
your_name:~$ docker rm CONTAINER_ID
- Check statement of images.
your_name:~$ docker images
- Delete a image.
your_name:~$ docker rmi IMAGE_ID